

Here is a step-by-step instruction on how to configure DNS on your iPhone or iPad with DNS Override app. The standard DNS changing method has to be performed manually in Wi-Fi settings, separately for each network. Also, by default, iOS does not offer an easy way to change DNS settings for the cellular connection. That’s where DNS Override app comes in handy, as the app allows you to set DNS globally for all networks and it works with Wi-Fi and cellular.
Two popular DNS-based functions include content blocking (i.e. adult content) and accessing geo-restricted content through SmartDNS service.
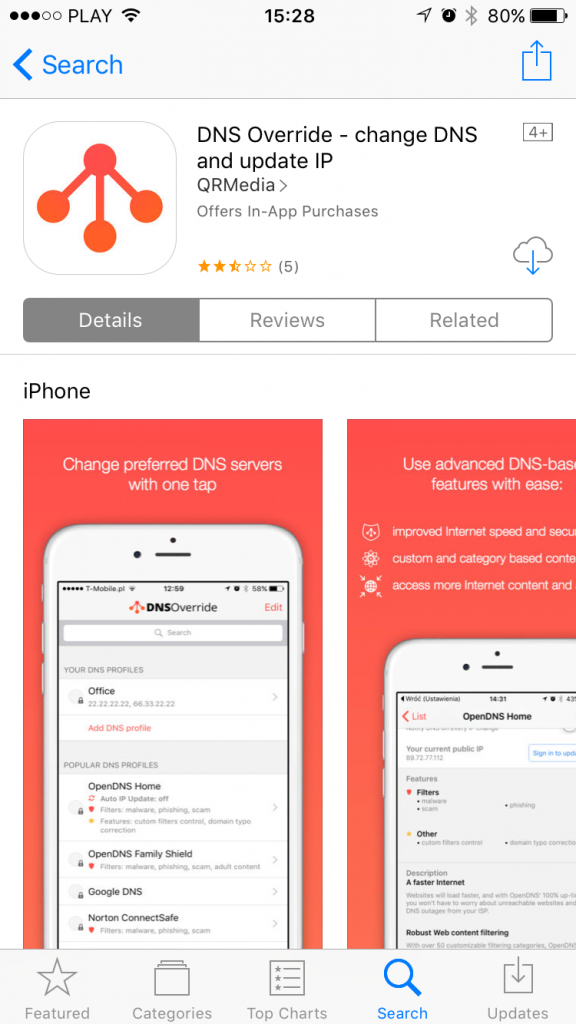
1. Download DNS Override app on your iPhone
You can do that by searching for “DNS Override” in the App Store or following this link. The app is free to download.
2. Launch the app and review the list of supported DNS providers
The main screen of the app is a list of built-in DNS profiles. These represent different popular DNS servers publicly available, which provide different features. The list is divided into three sections:
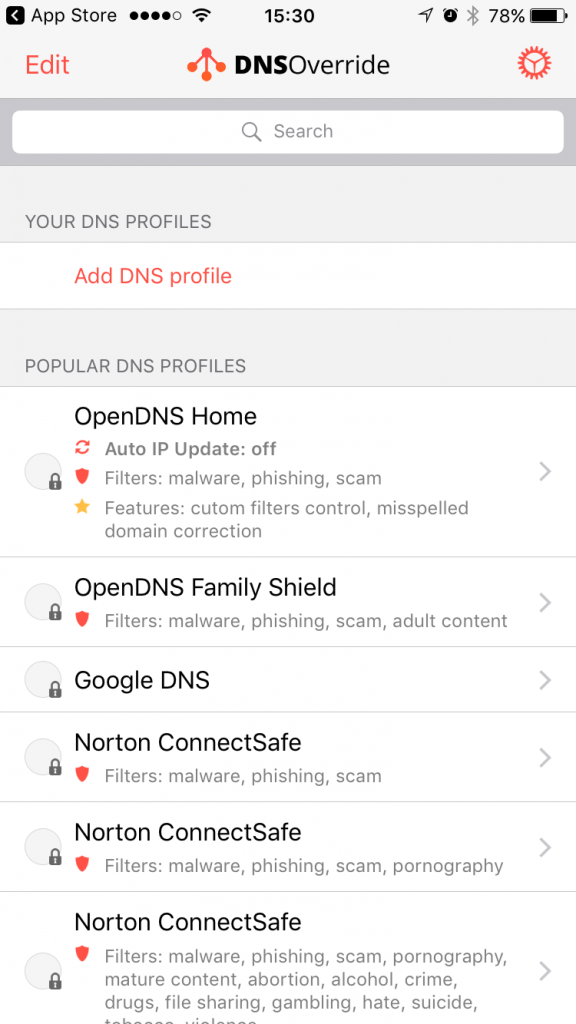
- Your DNS profiles – this allows you to configure your own set of DNS server to use. You will need to know the IP addresses of these DNS servers to create a profile.
- Popular DNS profiles – this is a list of popular global DNS service providers like OpenDNS or Google. These providers offer a different set of features like malware, phishing and scam protection with OpenDNS Home vs. all this plus additional adult content filtering with OpenDNS Family Protect. If you want to effectively block access to porn sites to prevent your kids from accessing them, go with OpenDNS Family Shield or Norton ConnectSafe profile.
- SmartDNS profiles – this is a list of supported SmartDNS providers handpicked by us. Every service provider in this section offers a different set of channels (video/audio services with geo-restrictions applied). To know them better, go to the details page and use “View offer” button. Using SmartDNS to access geo-restricted content is a paid service, so to use these you’ll need to purchase a subscription package (or use one you already have). Luckily in most cases, there is a free trial, so you can test it and check if your favorite geo-restricted channel is, in fact, accessible through SmartDNS you pick. We highly recommend Unlocator as a well known and reliable SmartDNS service. You can sign up directly from DNS Override app by going into Unlocator details page -> Credentials and tapping on the Sign-up button.

3. Unlock DNS Override in-app purchase ($1.99)
Setting up DNS servers on iOS is normally done by configuring your Wi-Fi network settings. You can find a detailed instruction on how to do this in Manual DNS Setup page available on the details page of every listed DNS profile. This is done fairly easily but requires you to remember to reconfigure each Wi-Fi network you connect to. Plus there is no easy way to set DNS servers for cellular connection. So if i.e. you want to block access to adult content on your kids’ iPhones or iPads, it will work only with your home router. As soon as they switch to some other Wi-Fi network or simply disable Wi-Fi and switch to the cellular connection, it’s not going to work anymore.
That’s why we have created the DNS Override feature, available as an in-app purchase.
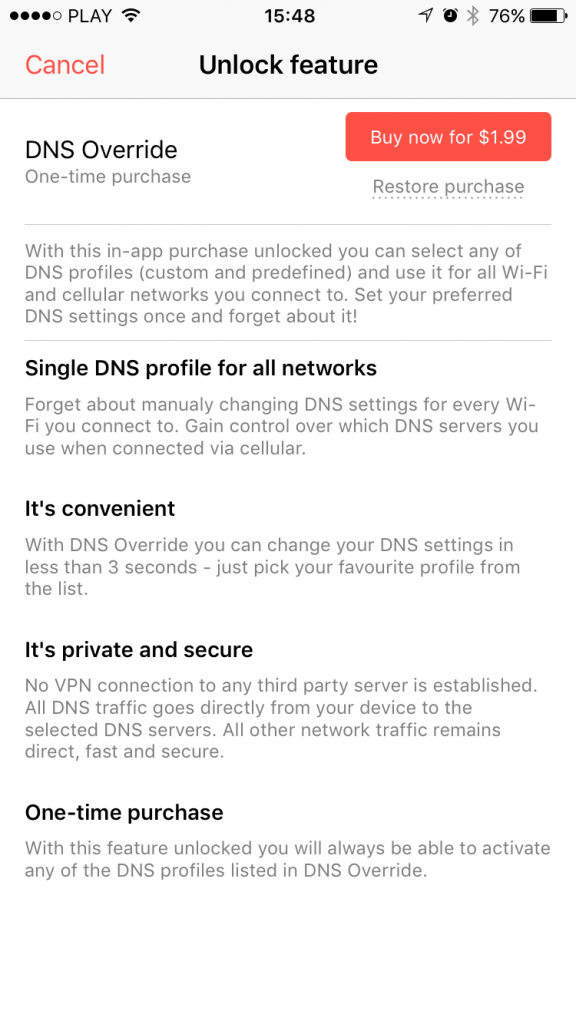
It will allow you to force your preferred DNS servers for every network connection accessed by the device. No matter which Wi-Fi or cellular network you use – the DNS profile you select in DNS Override app will work with all browsers and apps.
As soon as you purchase the DNS Override in-app you’ll be asked to install a dummy VPN profile. Please complete the process – it is required for the actual DNS enforcing to work on your iOS device.
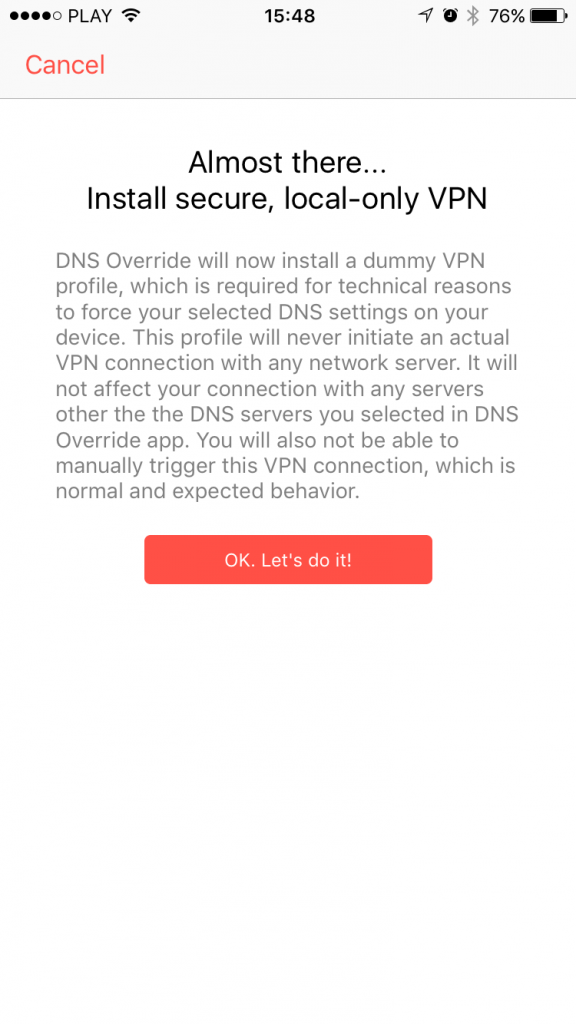
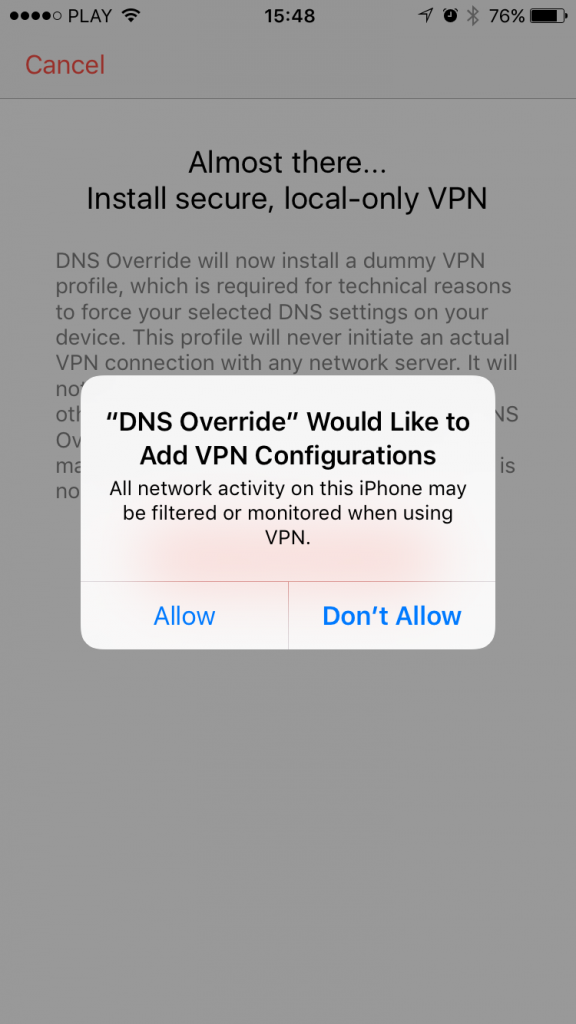
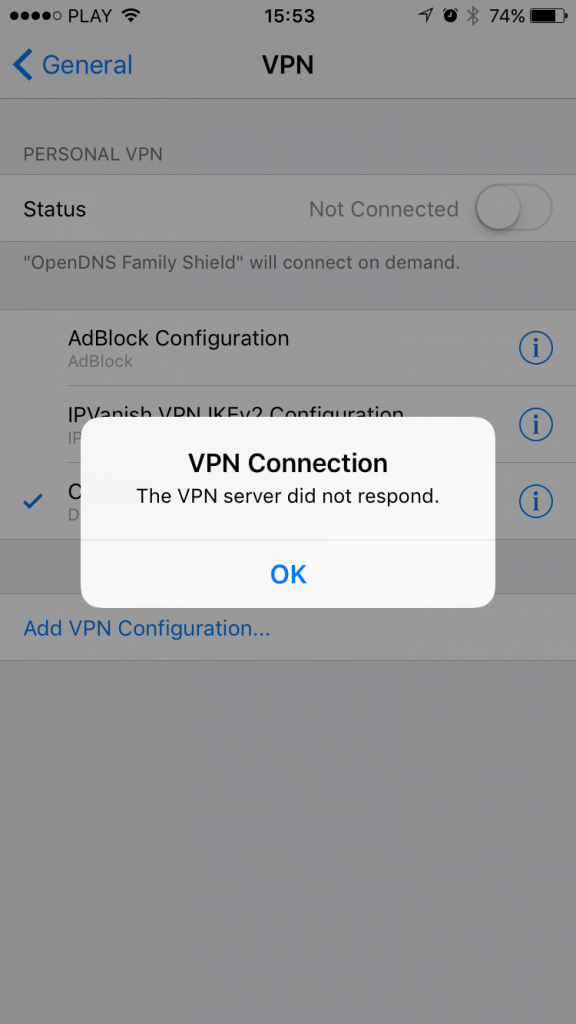
Please note that this is not an actual VPN service – you will not be able to connect to a VPN server and it’s intentional. Even if you go to Settings app -> VPN and try to manually trigger the VPN connection, you’ll get the error message and it’s OK! The error message is there because there is no VPN server on the other side and the VPN profile itself is used just as a method for enforcing DNS settings locally on your device. You don’t need to connect to any VPN for the DNS profile to work. The profile just needs to be installed.
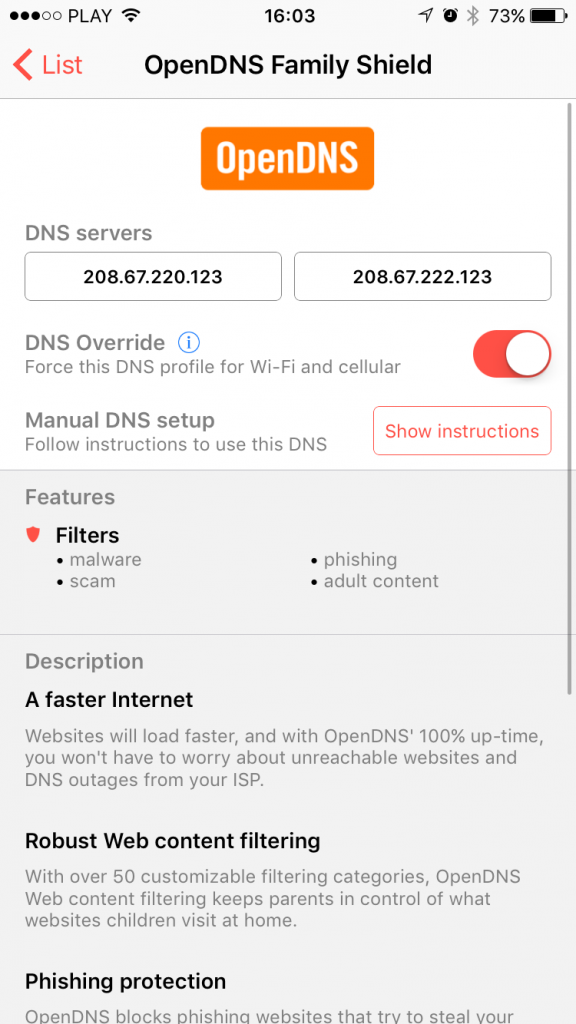
4. Pick your DNS profile
With DNS Override in-app unlocked you can now select your preferred DNS profile in DNS Override app. There are two ways to do this: you can either toggle the checkmark next to the profile on the list or go to details page and toggle DNS Override switch displayed below the DNS servers listing.
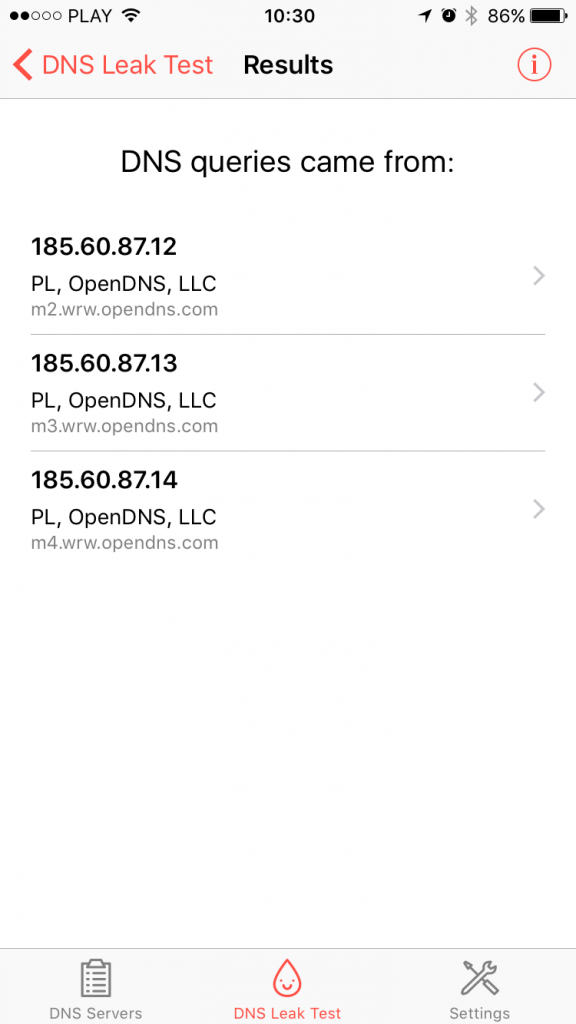
5. Test if it’s working
Check how selecting different profiles in DNS Override app affect your DNS preference. Since v1.2.0 you can perform the DNS Leak Test right inside our iOS app. Simply go to “DNS Leak Test” tab to start the test. This will allow you to see which edge DNS resolvers are performing the actual DNS queries from you iOS device. Results will depend on profile you select in DNS Servers tab.
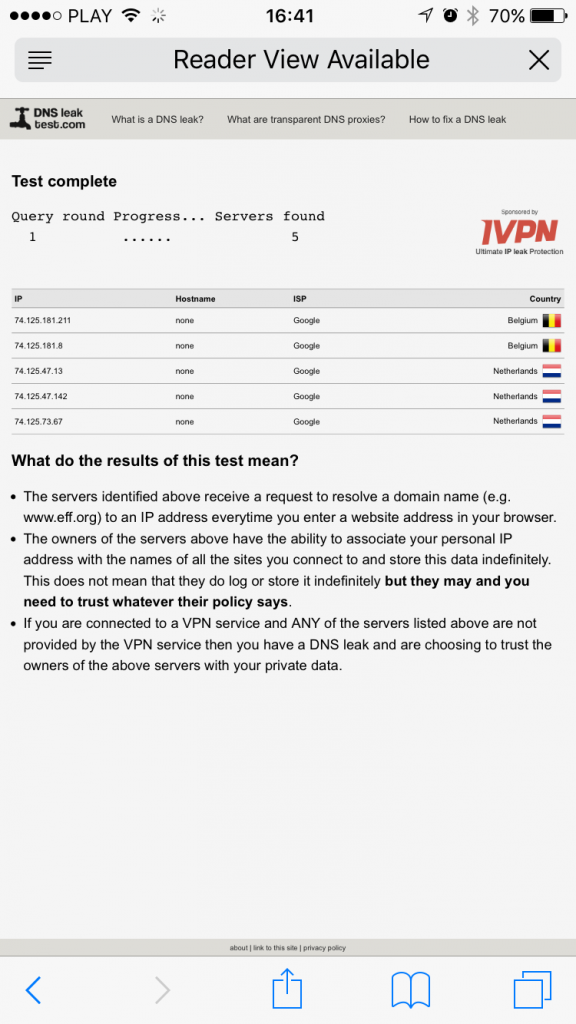
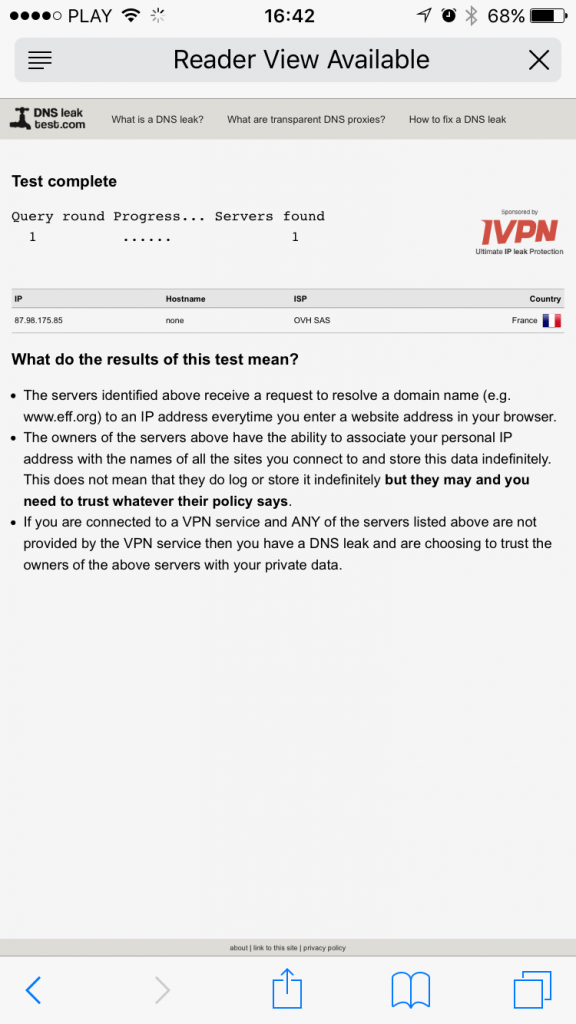
Alternatively you can perform similar test in Safari by going to http://www.dnsleaktest.com. Below you’ll find example results for Google Public DNS and OpenNIC. The results might be different depending on your location.
Just bought the IOS app to force DNS requests away from Verizon cellular. Also bought an app called Net Analyzer to confirm your app is working as expected.
My issue and question is this…. If WIFI is on and cellular data off, DNS is correctly defined in Net Analyzer as 8.8.8.8. If cellular data is on and WIFI off, Net Analyzer reports DNS is still showing Verizon cellular 198.224.167.135 instead of 8.8.8.8. If I test DNS configuration via dnsleaktest.com and phone browser (Safari / other), the DNS seems to be correct under both test cases.
So my question is this: DNSOverride seems to adequately override web browsing DNS requests, but the override does not seem to extend to 3rd party apps DNS requests when the phone is receiving data services from the carrier. Is this correct functioning for the app?
I’m also interested to know the results of your battery performance tests!
App Information: DNSOverride v1.4.1 (84)
Device Information: iPhone SE, iOS v11.2.1, language en_US, Verizon (MNC 480, MCC 311)
Hi, I tried to use the app with the force dns function but auto dns override not work in WiFi e mobile data, only manual WiFi update work. Can you help me?
Thansk
Hi Luca, please contact [email protected]
Since the last update (to include DNSOMatic profile), you cannot use AutoIP update only, it actually forces the DNS Override with the AutoIP update. It would be best if the AutoIP update could be used independently from the Override feature
Hi Eddy, thank you for reporting the problem. Actually the override is turned off when you toggle the switch to “off” state, but the interface doesn’t display the status properly (that’s why it goes back to “on”). We’ll fix that in the next update.
Hi,
I love this App, is it possible to add the exceptions for the profile when using specified Wi-Fi SSID?
For example,
1, It will always use the DNS Override profile when I use Cellular network.
2, It will always use the DNS Override profile when I use WIFI-SSID-1 network.
3, DO NOT use the DNS Override profile when I use WIFI-SSID-2 network. (Please let me know if I can add the WIFI-SSID-2 to the exception rule via App settings)
Please refer to the VPN On-Demand Rules on https://www.derman.com/blogs/Example-iOS-VPN-OnDemand-Rules
InterfaceTypeMatch
WiFi
SSIDMatch
Our-Wireless
DNSServerAddressMatch
172.24.32.53
Action
Disconnect
Thanks and Regards,
Wing Huang
I, too, would like to know this. My university has a specific WiFi framework that doesn’t like OpenDNS (or any custom DNS for that matter) and I’d love to be able to exclude it from the Override.
I’ve installed DNS Override on my iPhone 6 and set the DNS addresses to OpenDNS. With wireless active and signed on, I ran the DNS Leak Test and got the correct listing of some OpenDNS servers. I turned off WiFi to see how the DNS Leak Test would work over cellular. After processing for a few
moments, I got the following error: “Info, Leak test ended with no results”. Does that mean that DNS Override is not working when I’m connecting via cellular?
I keep getting the following error: “Server response: badauth” when trying to manually update my IP. The credentials I have are my username and password for OpenDNS.
This is often caused by use of special characters in password. On the login page there are special characters which are supported in authorisation method used for Auto IP Update. Could you please check if there are no other special characters used in your username/password?
I put this on my kids devices, and unfortunately if your child deletes the app the settings stop working. So I used “Settings | General | Restrictions” and took away their ability to remove apps. This also helps me to know exactly what apps get installed. I have to deal with deleting all of the free games they install after they realize they don’t really want the. But it is worth it in the end.
Is this available using Apple Volume Purchasing Program, for instance, to distribute to all iOS devices in our school? We would like to enable filtering on/off-network (mobile connections) by pointing to OpenDNS. Ideally, other DNS service options within the app would be unavailable in this context, or at least a strong password would protect& save or specified DNS settings. We have a fairly unique context, which I can share offline.
Hello, please drop me a line at [email protected].
Does the app a passphrase so that kids cannot disable or change dns servers since were trying to block content?
There’s an option to setup a passcode protecting any changes within the app.
Bare in mind that if the child deletes the app the settings will no longer work. But you can set restrictions to disallow the removal of apps. “General | Settings | Restrictions”. These IOS restrictions are also passcode protected.
Thanks Dan, that’s a good hint. I’ll post a separate entry on configuring DO as a child protection mechanism.
There is one more technical measure we’re going to add in coming release to further prevent disabling of the override. Right now your child can go to Settings -> VPN -> (DNS Override profile) and disable the onDemand switch, which will temporarily disable the override. Today we monitor this as a background process, but we don’t have control over how often this check is performed (iOS decides). We’ll add in a switch in DO settings for optional subscription to silent notifications, so we can periodically check if the required VPN OnDemand is enabled. If we detect it’s OFF, we can change it back to ON. Right now we’re testing how this affects battery life and the results are very promising 🙂